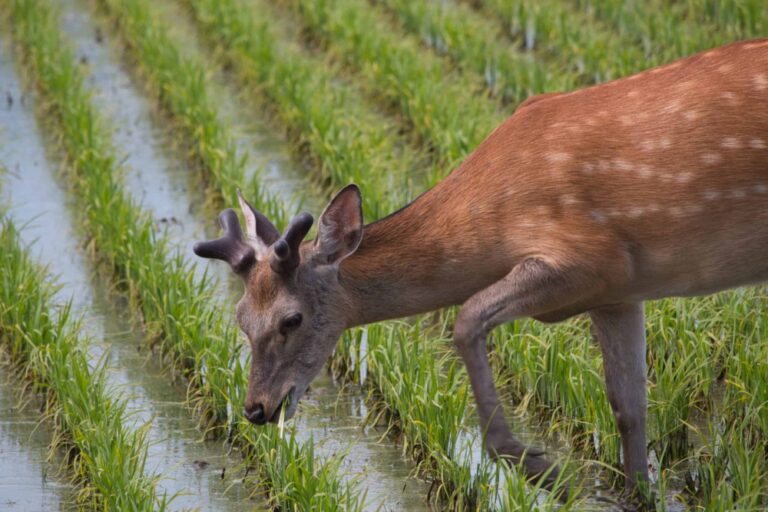
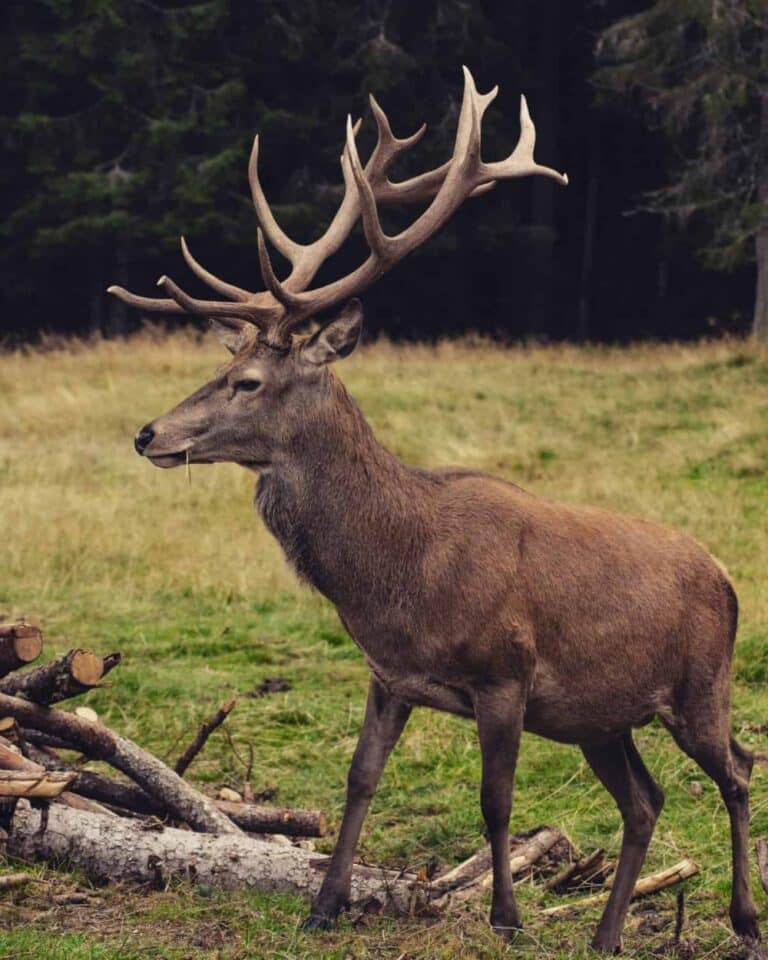
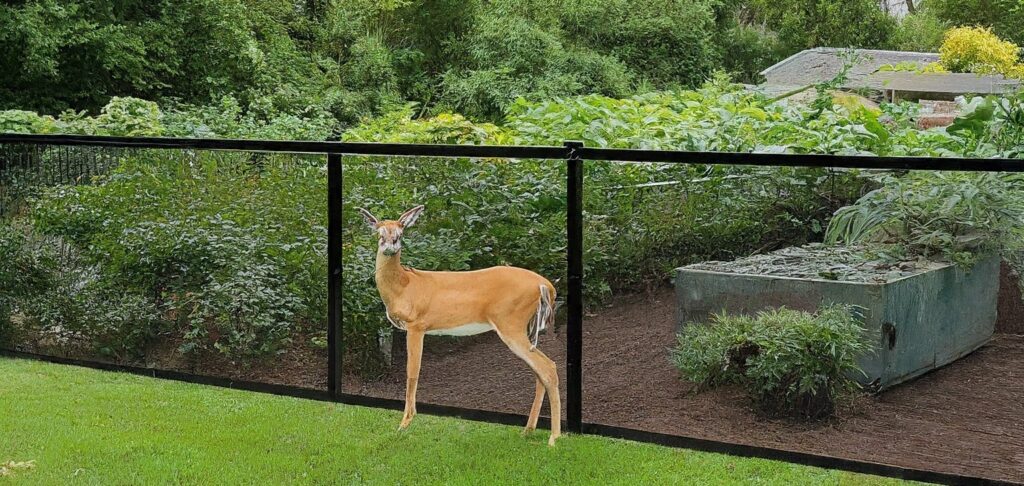
Have you ever woken up to find your prize-winning roses reduced to stubs or your vegetable patch looking like a buffet gone wrong? If unwelcome deer are turning your dream garden into their salad bar, you’re not alone. You need a deer fence.
Disclosure: Our website contains affiliate links, which means we may receive compensation if you purchase from recommended websites. We test and review these products independently and do not accept free products or incentives in exchange for positive reviews. Any opinions expressed here are our own.
Deer can be a real nuisance for homeowners, gardeners, and farmers. They’re attracted to various plants, including flowers, vegetables, shrubs, and trees. Their browsing habits can cause significant damage, leading to financial losses and frustration.
A deer fence might be the perfect solution if you’re tired of watching your landscaping efforts disappear overnight. Deer fencing deters these herbivores from entering your property and protecting your plants.
This comprehensive guide will equip you with all the knowledge you need to choose the right deer fence for your needs and install it like a pro.
In the following sections, we’ll explore the types of deer fences available, consider the factors to consider when choosing, and provide a step-by-step guide for installing them.
We’ll also cover essential maintenance tips to ensure your fence remains effective for years. By the end of this guide, you’ll be well on your way to a deer-proof property and a garden that thrives.
Choosing the Right Deer Fence for Your Needs
Just like there’s no one-size-fits-all solution for gardens, no single type of deer fence works for every situation. The ideal deer fence for you will depend on several factors, including your property size, deer pressure in your area, budget, and desired aesthetics.
Here’s a breakdown of the most common types of deer fence to help you make an informed decision:
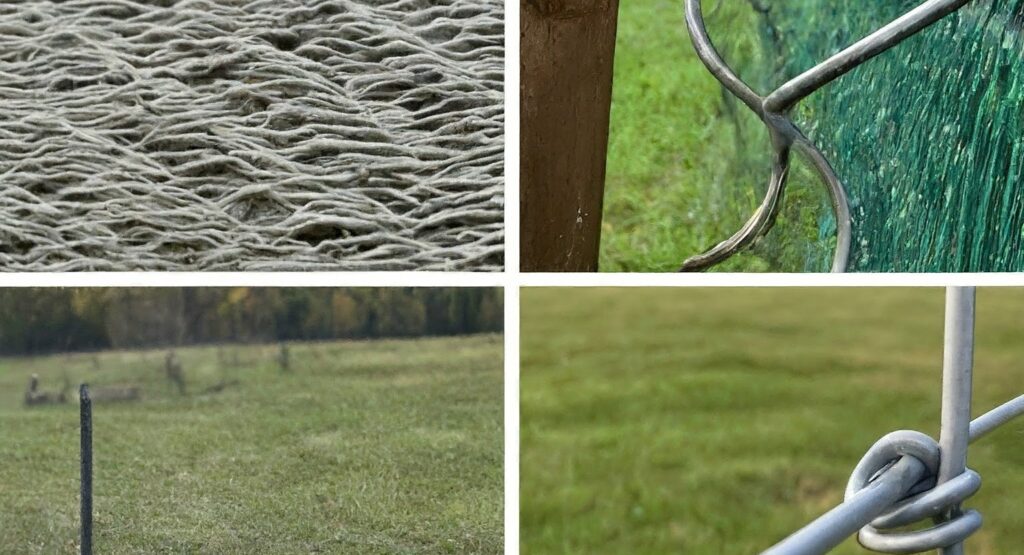
Woven Wire Mesh
This highly durable and long-lasting option is popular for large properties and areas with heavy deer pressure. Woven wire mesh fences come in various gauges (thicknesses) and heights.
An 8-foot high, 6-gauge woven wire mesh fence is considered near-impenetrable for deer. While strong and long-lasting, woven wire mesh can be more expensive upfront than other options and may not be the most aesthetically pleasing choice for all properties.
Knotted Mesh
Similar in appearance to woven wire mesh, knotted mesh offers another strong and reliable fencing solution. The key difference lies in the construction. Woven wire mesh features interlocking wires, while knotted mesh utilizes knots at each intersection point for a more rigid structure.
This rigidity can make knotted mesh slightly easier to install on uneven terrain. Knotted mesh deer fence is available in various gauges and heights, making it suitable for various applications.
Plastic Mesh Deer Fence
This is more affordable and easier to install than metal mesh fences. Plastic mesh is typically black and comes in varying heights. While effective for deterring smaller deer species, the plastic mesh may not be strong enough to withstand determined large deer or heavy snowfall. It’s best suited for smaller gardens or areas with less intense deer pressure.
Additional Factors to Consider
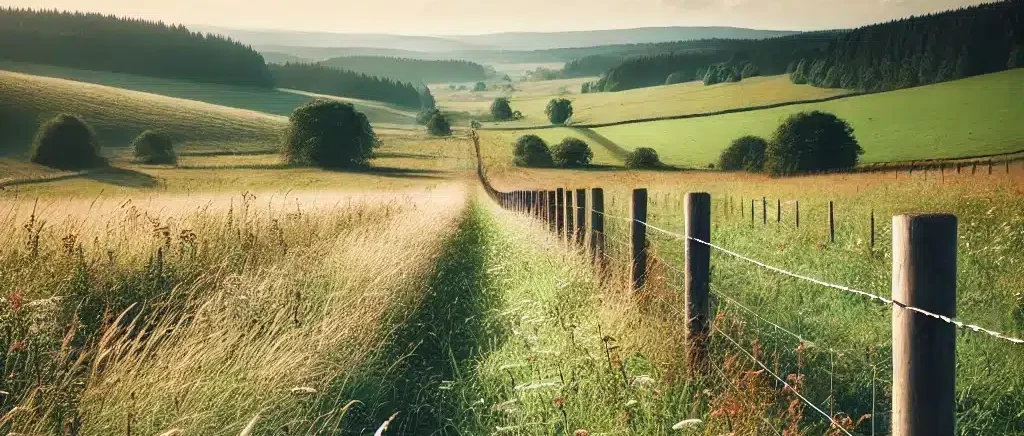
Beyond the type of fence material, there are several other factors to weigh in on when selecting your deer fence:
Property Size: The size of your property will directly impact the amount of fencing material you’ll need. Measure your property perimeter carefully to determine the total fence length required. Remember to factor in any gates or additional fencing needed for areas like vegetable gardens.
Deer Pressure: The severity of deer presence in your area will influence the height and strength of the fence you choose. Areas with high deer populations might necessitate a taller and more robust fence (like 8-foot, 6-gauge woven wire mesh) compared to regions with occasional deer sightings.
Terrain: Uneven terrain can pose a challenge during fence installation. Consider options like knotted mesh, which offers more rigidity and can adapt slightly better to uneven ground than woven wire mesh. In some cases, additional steps might be required to ensure proper fence support on uneven surfaces.
Budget: Deer fence prices vary depending on the material, height, length, and brand. While a high-quality woven wire mesh fence offers exceptional durability, it comes at a higher upfront cost. Plastic mesh deer fence is a more budget-friendly option, but consider its limitations regarding strength and longevity.
Aesthetics: Deer fences can be a permanent fixture on your property, so consider their visual impact. Woven wire mesh offers a more industrial look, while plastic mesh has a less noticeable presence. Think about how the fence will blend with your existing landscaping and desired aesthetic.
Local Regulations: In some areas, there might be regulations regarding fence height or materials used. Check with your local authorities before purchasing and installing your deer fence to avoid potential issues.
You can choose the deer fence that best suits your needs and property by carefully considering these factors.
The next section will delve into the installation process, providing a step-by-step guide to help you create a deer-proof haven for your precious plants.
Installing Your Deer Fence Like a Pro
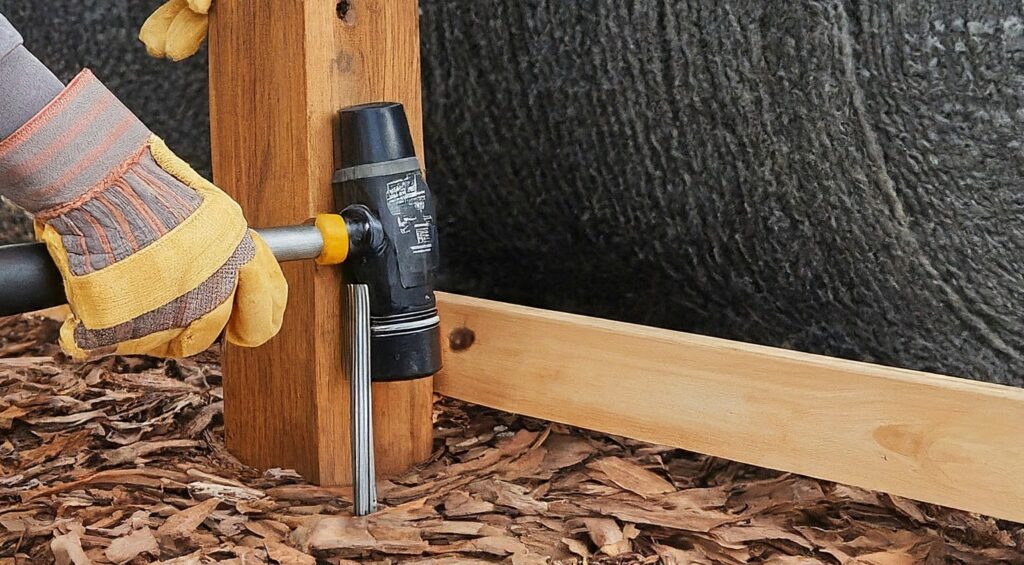
Now that you’ve chosen the perfect deer fence for your property, it’s time to get down to the installation business. While professional installation is always an option, with careful planning and this handy guide, you can tackle the project yourself.
Step-by-step installation process
Planning & Materials
- Gather all the necessary materials, including fence posts, fence mesh, tensioners, zip ties, corner posts (optional), gloves, safety glasses, tape measure, post driver (or equivalent tool for digging holes), and a level.
- Sketch a plan for your fence line, considering property boundaries, gates, and any obstacles.
- Measure the perimeter of the area you want to fence to determine the amount of fence material needed—factor in an extra 10% for overlap and potential errors during installation.
Marking the Perimeter
- Use stakes or flags to mark the fence line clearly based on your plan.
- Double-check measurements to ensure accuracy before proceeding.
Post Installation
- Determine the spacing between fence posts based on the fence material you use. Woven wire mesh typically requires posts every 6-8 feet.
- Dig holes for the fence posts at the marked locations. The depth of the holes will depend on your local frost line and fence height.
- Place the fence posts in the holes and ensure they are plumb (perfectly vertical) using a level.
- Secure the posts by tamping down the backfilled soil and adding gravel or concrete mix (depending on your chosen method) for additional stability.
Tip: For stability in loose soil or windy areas, consider using corner braces for corner posts and tensioners along the fence line.
In the next section of this guide, we’ll continue with the installation process, covering attaching the fence fabric, creating gates, and finalizing your deer-proof haven.
Completing Your Deer Fence
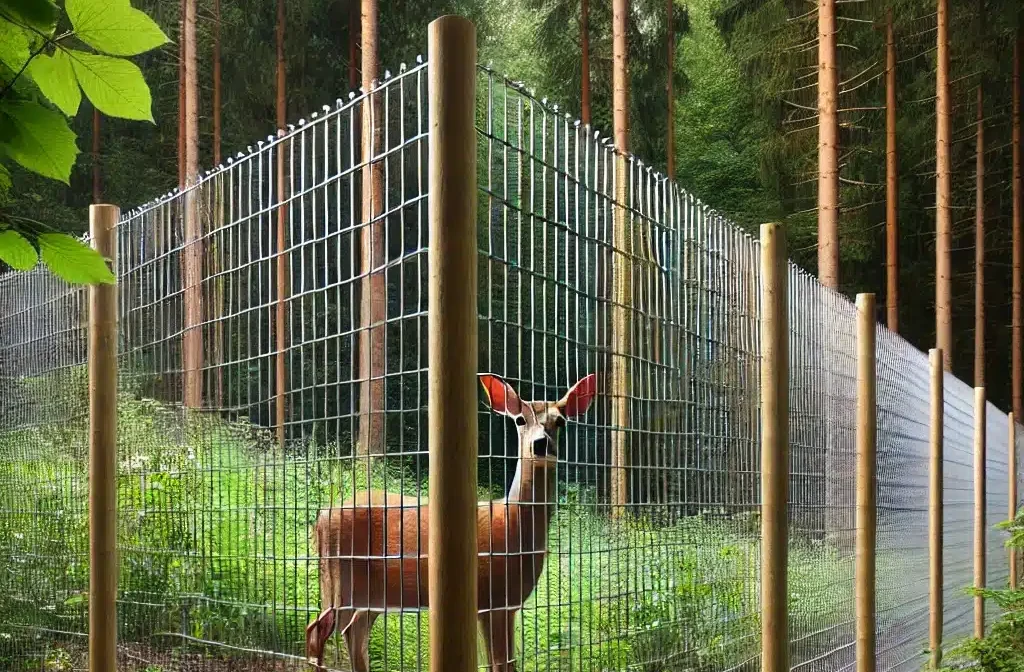
We’ve covered the groundwork for your deer fence installation, and now it’s time to focus on attaching the fence fabric and creating any necessary gates.
Attaching the Fence Fabric
- Unroll the fence fabric along the line of posts, ensuring it remains taut throughout the process.
- Depending on the type of fence material you’ve chosen, there will be different methods for attaching it to the posts.
- Woven Wire Mesh: Typically attached using tensioners and hog rings. The tensioners are clamped onto the fence wire and secured to the post, creating tension along the fence line. Hog rings connect the loose ends of the fence wire to the tensioners.
- Knotted Mesh: This may utilize zip ties or specialized hardware to fasten the posts.
- Plastic Mesh: Often secured using zip ties or clips specifically designed for the fence material.
Creating Gates
- Plan gate placements strategically if your deer fence requires access points for entering or exiting the fenced area.
- Gates should be constructed using strong materials that complement your chosen fence type. Ensure the gate hinges are secure and the latch mechanism is reliable.
- For larger gates, consider adding diagonal braces for additional stability.
Finishing Touches
- Once the fence fabric is securely attached and any gates are functional, inspect the fence line for any loose wires, gaps, or potential weak points. Address any concerns promptly.
- Trim any excess fence material using appropriate cutting tools.
- Remove any leftover debris or construction materials from the work area.
Congratulations! You’ve installed your deer fence and created a haven for your plants, free from unwanted deer visitors.
In the final section of this guide, we’ll explore some essential maintenance tips to ensure your deer fence remains effective for years to come.
Maintaining Your Deer Fence
Your newly installed deer fence is a testament to your hard work and a crucial defense against unwanted deer visitors. But just like any barrier, it requires regular maintenance to stay effective for years. Here’s how to keep your deer fence in tip-top shape:
Regular Inspections (Quarterly)
- Grab your trusty binoculars and become a fence detective! Thoroughly inspect the entire fence line for any signs of weakness or damage. Pay close attention to these areas:
- Fence Posts: Check for leaning, loose posts, rot, or decay at the base.
- Fence Fabric: Look for tears, rips, or loose wires that could create gaps.
- Gates: Ensure hinges are secure and the latching mechanism functions properly.
- Ground Contact: Inspect the area where the fence meets the ground for any signs of digging activity by determined deer.
Addressing Issues Promptly
- Don’t let minor problems fester! Once you identify an issue during your inspection, immediately address it.
- Loose Posts: Tamp down the surrounding soil or add additional support (gravel or concrete mix) to stabilize the post.
- Tears or Rips: For small tears in plastic mesh, use heavy-duty repair tape. For larger rips or tears in woven or knotted mesh, consider patching the area with a matching fence material and securing it with hog rings or specialized hardware.
- Loose Wires: Re-tension the wires using the tensioners and secure them properly.
- Digging Attempts: Fill in any holes created by deer and consider adding a layer of landscaping fabric or rocks at the base of the fence to deter future digging attempts.
Seasonal Maintenance
- Spring and summer: This is the prime plant growth season. Check for vegetation growing near the fence and trim back bushes or trees that could potentially provide deer with a foothold to jump over the fence.
- Fall & Winter: In areas with heavy snowfall, ensure the fence posts are strong enough to withstand the additional weight. You might consider adding braces or supports to prevent the fence from bowing under a snow load. Additionally, heavy snowfall can obscure the bottom of the fence, making it easier for deer to sneak under. Check for snow accumulation and clear it away from the base of the fence periodically.
Maintaining Aesthetics (Optional)
- Over time, weather elements can damage the appearance of your fence, especially metal mesh. If maintaining a clean look is important, consider applying a coat of outdoor paint specifically designed for metal surfaces.
Incorporating these maintenance steps into your routine ensures that your deer fence remains a formidable barrier for years. A well-maintained fence protects your precious plants and provides peace of mind, knowing your landscaping investment is safe from pesky deer.

Conclusion
A well-maintained deer fence is a long-term investment in protecting your property and cherished plants. We hope this comprehensive guide has empowered you to choose the right deer fence for your needs and install it confidently. With careful planning, proper installation, and routine maintenance, you can create a beautiful, deer-proof haven for your plants to thrive.

